
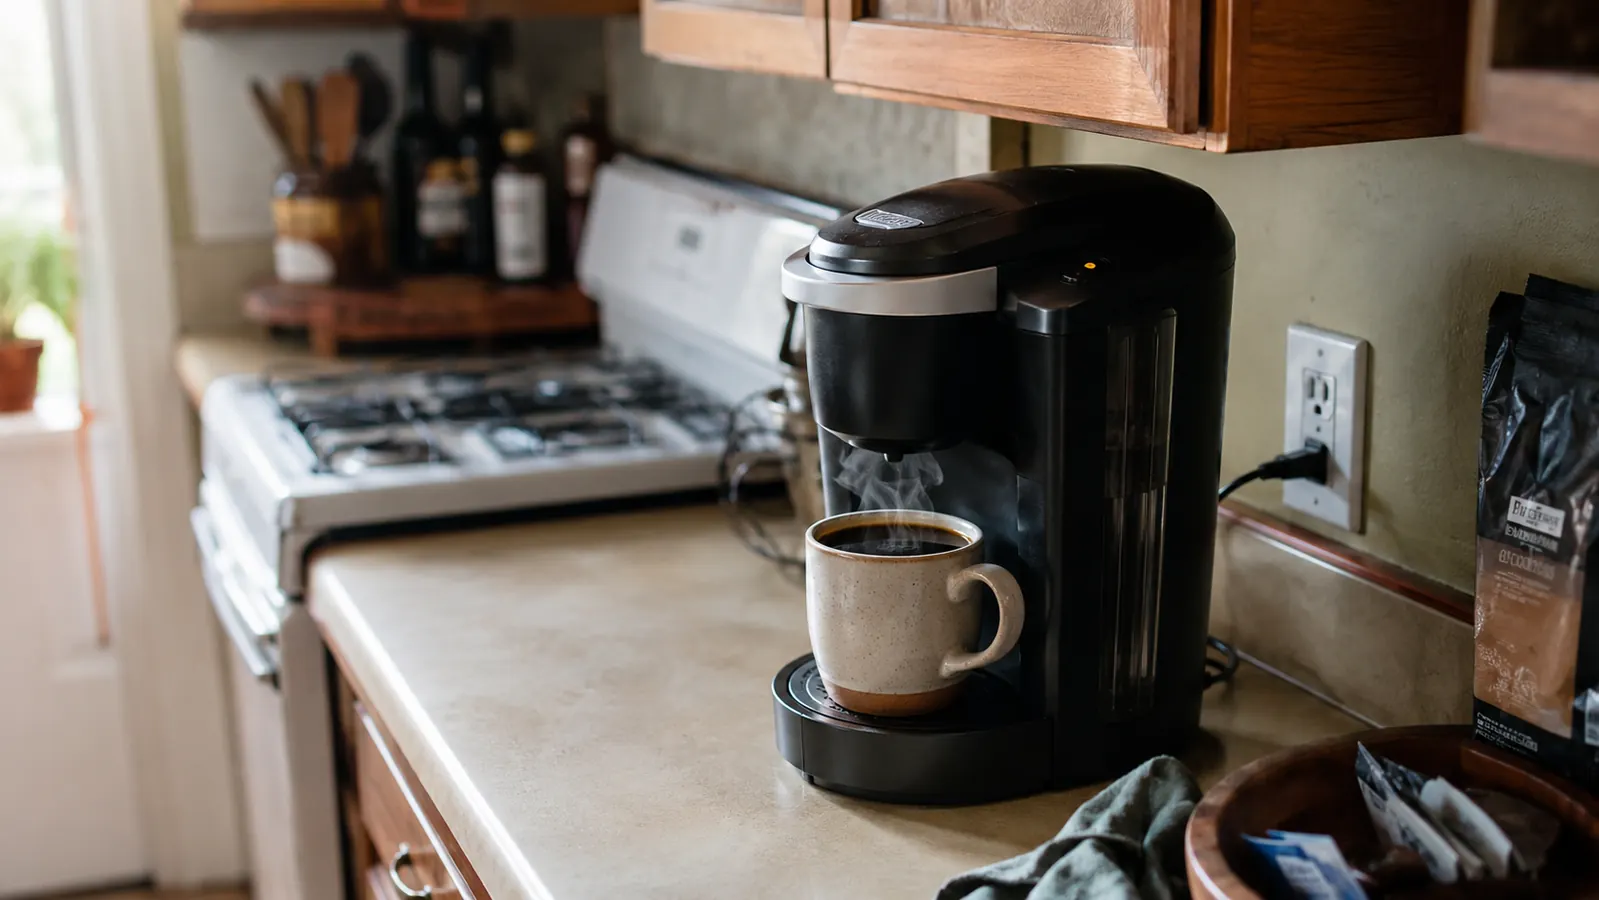
The first cup I pulled out of the Keurig K-Express tasted like coffee-flavored water with ambitions. I'd pressed the Strong button because that's what it's there for, and I still ended up wishing I'd loaded a second pod just to get something I'd call a real cup. My kitchen is one narrow run of counter, no room for a second machine, no room for a French press and a kettle living next to it, so returning this thing wasn't really on the table. I had to figure out how to get more out of it instead.
It took me longer than it should have to admit the manual wasn't going to help. It tells you the Strong button exists and what the three brew sizes are, and that's about it. Nothing about how those two settings actually interact, nothing about the pod itself mattering as much as the machine, nothing about the small maintenance habits that quietly wreck a cup over a few months. I had to work all of that out on my own counter, one weak morning at a time.
What follows is the actual routine I landed on, not just the one button Keurig tells you about in the manual. None of it requires buying anything extra or giving up the counter space I chose a single-serve machine to save in the first place. Five things, done in order, every morning, and the difference between the first cup I described above and what I drink now is real enough that I stopped thinking about replacing the machine entirely.
Getting weak coffee out of a single-serve machine that's supposed to be simple?
See today's price and current availability on the Keurig K-Express on Amazon.
Amazon Check Today's Price on Amazon →Step 1: Pick the smallest brew size, not the biggest
This is the opposite instinct most people have, and it's the single biggest fix. The K-Express gives you three sizes, 8, 10, and 12 ounces, and every pod is loaded with the same fixed amount of coffee no matter which one you pick. Choosing 12 ounces just runs more hot water through the same grounds, which stretches the flavor thin instead of making a bigger strong cup. I learned this the hard way after a week of assuming a bigger mug meant a bigger coffee.
I brew almost everything at 8 ounces now, even on mornings when I want more volume. If I want more coffee, I run a second pod into a second mug rather than stretching one pod over 12 ounces. It costs an extra pod, which isn't free, but it tastes like actual coffee instead of coffee-adjacent water, and for me that trade is worth it more mornings than not.
The 10-ounce setting sits in an odd middle ground I've mostly given up on. It's noticeably weaker than 8 ounces but not really big enough to justify itself as a full mug on its own. If your mug is on the smaller side, which mine is, just skip 10 ounces entirely and treat the machine as a two-size decision, 8 for strength or two rounds of 8 for volume.
Step 2: Run the Strong button on every brew, not just the ones that feel like they need it
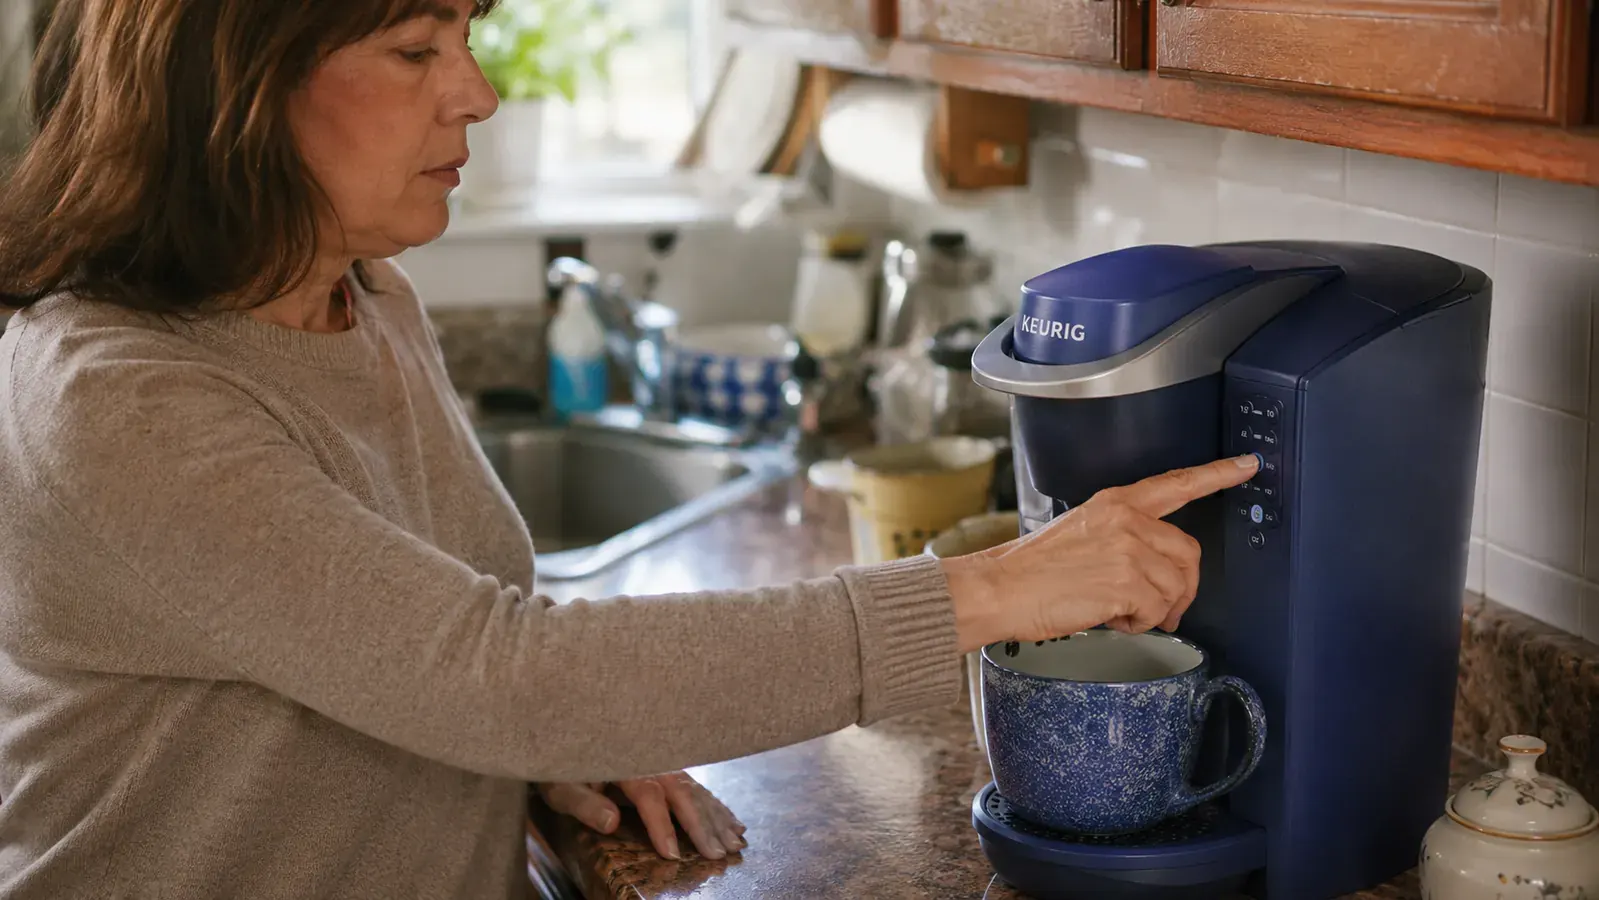
The Strong button extends the brew time so water sits in contact with the grounds longer before it's pushed through, which pulls more flavor out of the same pod. It's a small effect on its own, maybe 20 or 30 extra seconds of contact time, but it's a real one, and I skipped it for the first two weeks because I didn't understand what it actually did. I assumed it changed the water pressure or the temperature. It doesn't. It just slows things down.
Combined with the smaller brew size from step one, the Strong button stops being a nice-to-have and starts doing real work. On its own, with a 12-ounce brew, I could barely tell it was on. Paired with an 8-ounce cup, the difference is obvious enough that I now press it automatically, the same reflex as putting the mug under the spout in the first place.
One thing worth knowing going in, the Strong button doesn't reset itself between brews on every version of the Keurig the way you'd expect. I got in the habit of glancing at the light before I hit start, since running a normal-strength cup by accident because I forgot to press it is the fastest way to end up back at square one, wondering why today's coffee tastes thinner than yesterday's for no obvious reason.
Step 3: Seat the pod fully before you close the lid
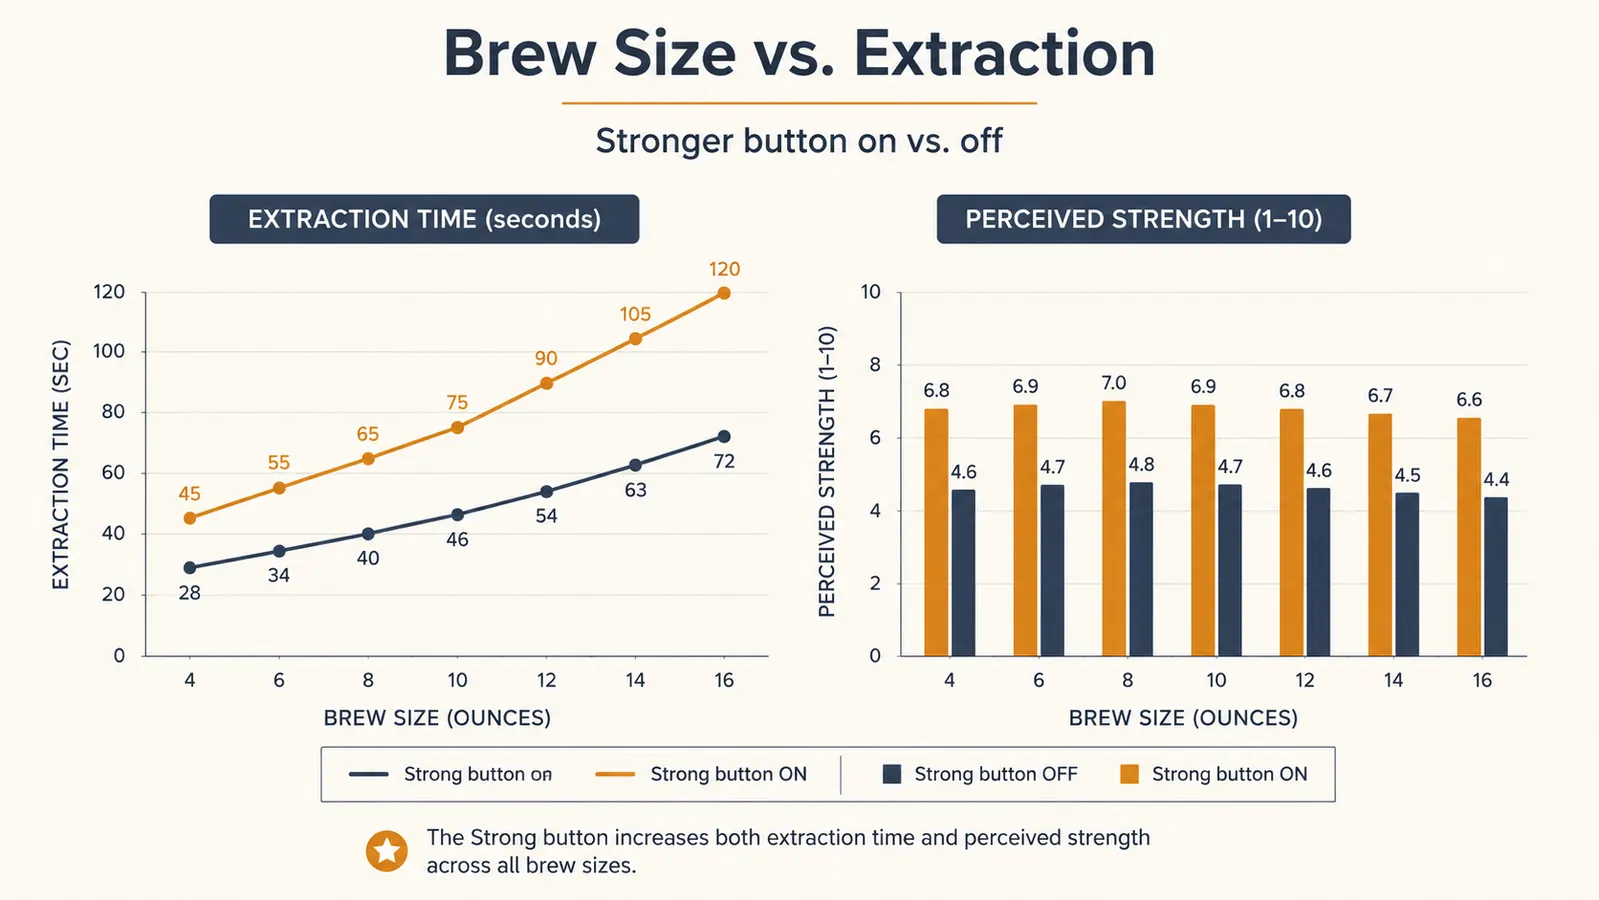
This one sounds too basic to matter, and I ignored it for longer than I should have. The needle that punctures the top of the pod has to pierce it cleanly for the water to flow through evenly. If the pod isn't pressed all the way down into the holder, or if it's sitting slightly crooked, the puncture is off-center and water channels around the coffee instead of through it, which gives you a thin, uneven cup no matter what button you pressed.
I check this every single time now, just a quick press down with two fingers before closing the lid. It takes about two seconds and it's fixed more weak cups for me than any setting on the machine. If you're getting an inconsistent cup, some mornings fine and some mornings watery for no obvious reason, this is usually the actual culprit, not the machine itself.
I've also noticed that pods stored somewhere warm, like a cabinet above the machine that catches heat off the top vent, seat and puncture slightly differently than pods kept in a cooler drawer. It's a small thing, but I moved my pod basket to the far side of the counter after connecting a run of uneven cups to a stretch of warm afternoons, and it hasn't been an issue since.
Step 4: Choose a darker, more concentrated pod, not just a bigger brand name
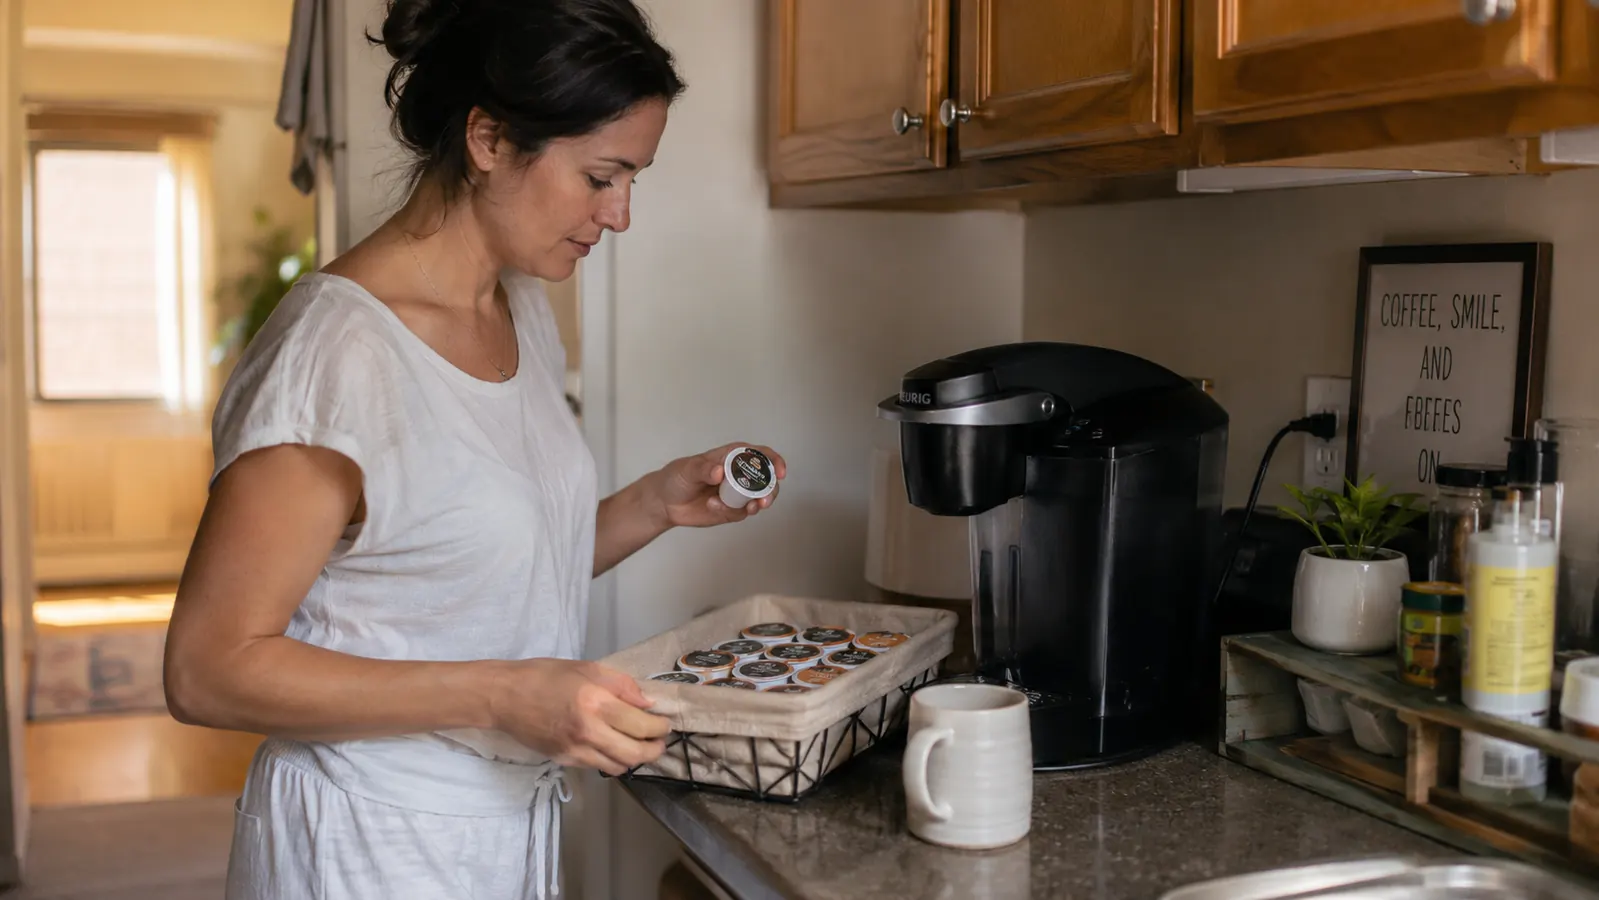
Not every pod is built the same, even within brew sizes that look identical on the shelf. I noticed the biggest jump in strength when I switched from a medium roast to a dark roast labeled specifically for bold or extra-bold brewing. The coffee inside is genuinely more concentrated, and it holds up better through the Strong setting than a lighter roast that was never meant to be pushed that far.
I keep a small basket of two dark roast options on the counter now instead of a mixed variety pack, and I stopped buying the lighter roasts entirely for daily use. A cheaper off-brand multipack I tried early on brewed noticeably thinner regardless of which button I pressed, so the pod itself matters as much as anything the machine does. Read the label before you buy a box, not just the price per pod.
I also stopped rotating flavors every week the way I did at first, mostly out of curiosity. Sticking with two roasts I trust means I know exactly what strength to expect from each one at the 8-ounce Strong setting, and I'm not troubleshooting a weak cup that's actually just a pod I've never brewed before. Consistency in the pod matters as much as consistency in the routine around it.
Step 5: Keep the machine descaled and the reservoir fresh
This step doesn't feel related to strength until you've lived through what happens when you skip it. Mineral buildup inside the machine slows the flow rate over time, and a slower flow rate sounds like it should mean more contact time and stronger coffee, but in practice it does the opposite. The pump struggles, the pressure drops, and the brew comes out thin and occasionally with a faint metallic taste on top of the weakness.
I run a descaling solution through the Keurig every three months on a calendar reminder instead of waiting for the indicator light, which I ignored the first time and regretted. I also rinse the reservoir out about once a week so the water going into every brew is fresh, not sitting stale from days earlier. Neither task takes more than twenty minutes, and both matter more to daily brew quality than most people expect from routine upkeep.
Tap water quality plays a part here too, more than I expected. My kitchen has fairly hard water, and switching to a filtered pitcher for the reservoir instead of straight from the faucet cut down how often I needed to descale by roughly half. If your water leaves spots on glasses in the dishwasher, it's probably worth the same small swap before you assume the machine itself is the problem.
What Else Helps
A few smaller habits stack on top of the five steps above. I warm my mug with hot tap water for a few seconds before brewing, since a cold ceramic mug pulls heat and perceived intensity out of the coffee faster than you'd think, especially with an 8-ounce pour. I've also started running the machine's brew cycle once with just water, no pod, first thing in the morning if it's sat overnight, which clears out any standing water in the lines before the real cup. And if I know I want something closer to a double shot, I don't fight the machine for it, I just brew two 8-ounce cups back to back and drink the first one smaller. It's not a workaround so much as accepting what a single-serve pod machine is actually built to do well.
I've also started paying attention to how long a box of pods has been sitting in the cabinet before I brew it. Pods aren't marked the way a bag of ground coffee is, but I noticed a real drop in strength from a box that had been open on the counter for a couple of months versus one I'd bought that same week. I keep the box closed and stored away from the stove's heat now, and I try to work through a box within about six to eight weeks instead of letting it linger.
I keep the reusable filter cup that shipped with the Keurig in a drawer and rarely reach for it anymore. The two times I tried loading my own ground coffee into it, the brew came out weaker than a pod even with the Strong setting on, and packing it took real effort in a kitchen where every extra step at 6 a.m. is one I try to avoid. If you're chasing strength specifically, the pods are the more reliable path, at least on this machine.
If you're setting this machine up for the first time, I'd work through the five steps in order rather than trying all of them at once. Get the brew size and Strong button habit locked in first, since that's where most of the improvement lives. Then move on to pod seating, roast choice, and upkeep once the basics feel automatic. It took me about two weeks of paying attention before the routine stopped feeling like a chore and just became how I make coffee every morning.
The Strong button is doing less work than you think until you pair it with the smallest brew size. Together they're the difference. Alone, either one is barely noticeable.
Ready to see if a compact single-serve machine earns a spot on your counter?
Check today's price, current availability, and real customer photos on Amazon.
Amazon Check Today's Price on Amazon →