
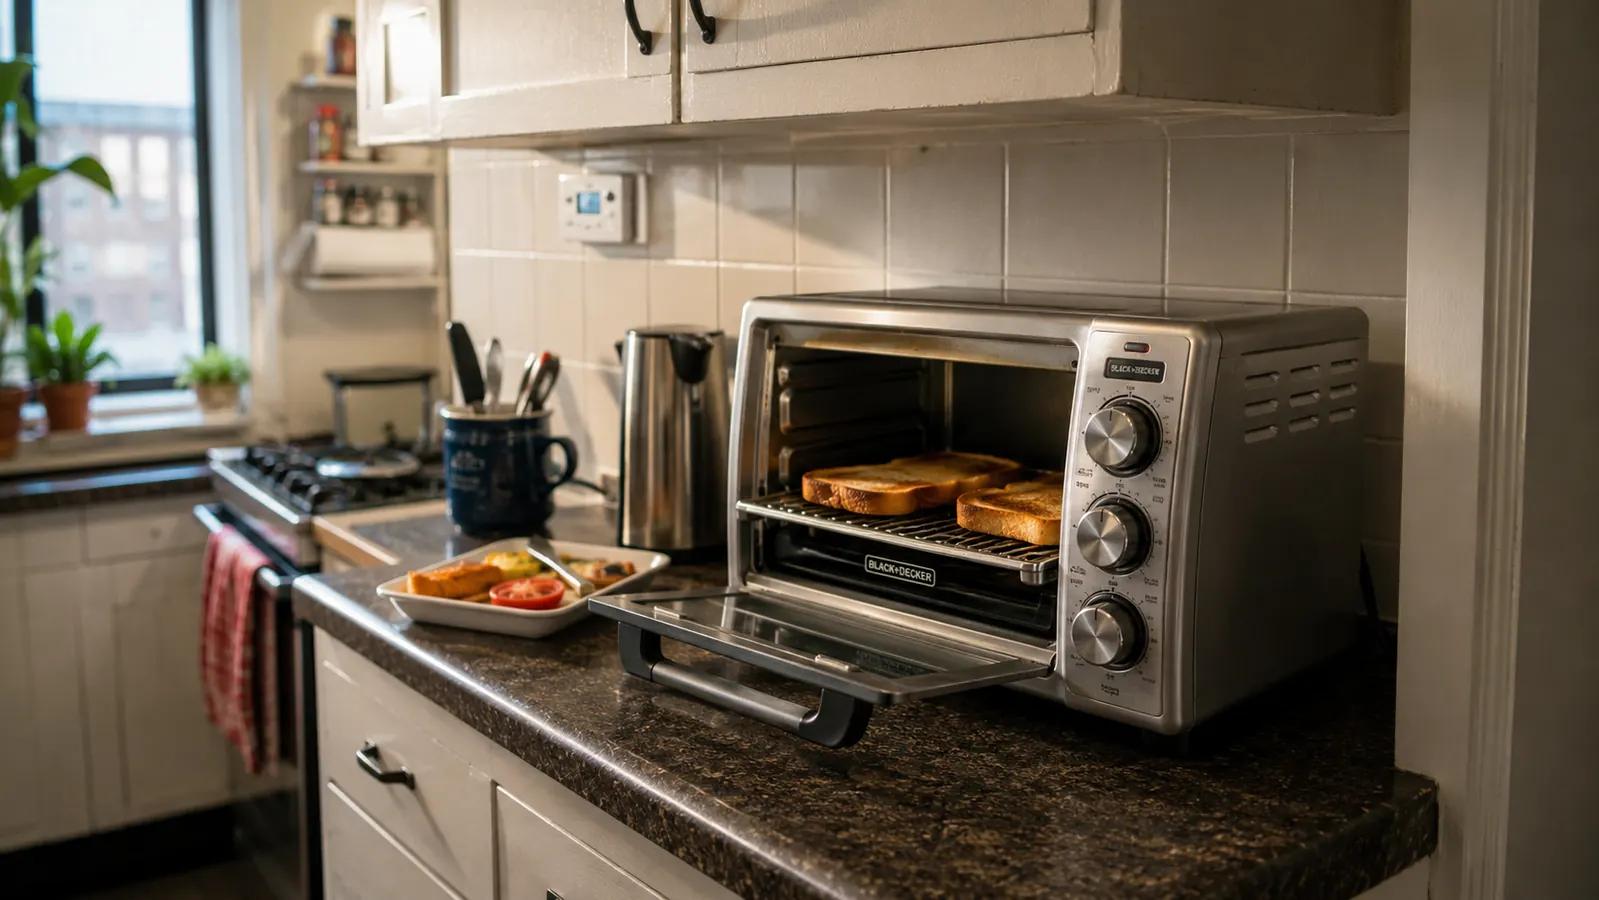
My BLACK+DECKER TO1313SBD sits on eleven inches of counter between the stove and the wall, and for the first month I owned it, I used it exactly like my old two-slice toaster: bread in, lever down, hope for the best. Half my toast came out pale on one side and nearly black on the other, and the one time I tried to bake a small tray of fish sticks in it, they came out soggy in the middle because I never adjusted anything from the toast setting the night before. It took me longer than I'd like to admit to actually learn the dials instead of guessing at them.
This is the method I landed on after about a year of near-daily use, toast most mornings and small bake jobs three or four nights a week. It's built specifically around the BLACK+DECKER TO1313SBD's mechanical dials and its 15.47-inch frame, not a generic toaster oven that might have a digital display or a different rack layout. If you own this exact model, or you're deciding whether to bring one onto a counter as tight as mine, this is the real process, dial positions and all.
The oven this whole method is built around
Every step below assumes the TO1313SBD's mechanical timer, shade dial, and 4-slice rack. If you're still deciding, check today's price before you start measuring your counter.
Amazon Check Today's Price on Amazon →Step 1: Learn where the toast dial ends and the bake knob starts
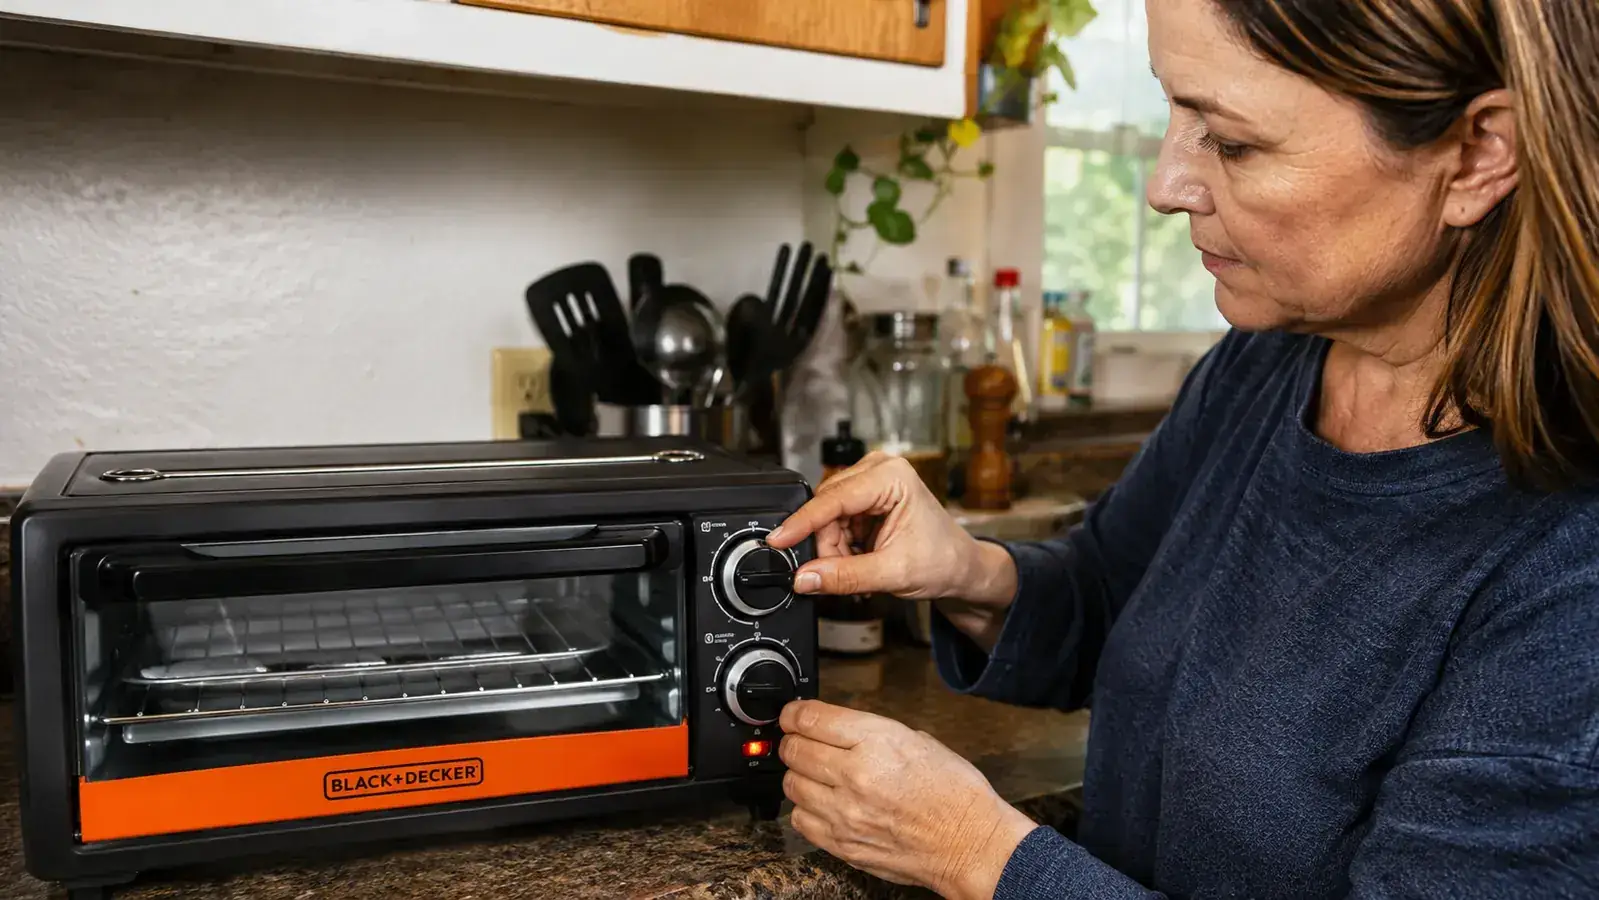
The BLACK+DECKER TO1313SBD has three separate controls: a toast shade dial on the left, a function selector in the middle that switches between toast, bake, and broil, and a temperature knob on the right that only does anything once you're out of toast mode. The mistake I made early on was leaving the temperature knob wherever it last sat and assuming the toast dial alone controlled everything. It doesn't. Toast mode ignores the temperature knob completely and runs on a fixed internal heat, timed by the shade dial you set.
So the actual first move, every single time, is checking the function selector before you touch anything else. If it's sitting on bake from last night's dinner and you drop in bread expecting toast, you'll get a slow, uneven warm-through instead of a real toast. I keep a small piece of masking tape stuck to the counter next to the unit with T and B written on it, just so I glance down and confirm which mode I'm actually in before I load anything. It sounds unnecessary until you've pulled out a tray of half-toasted bread at seven in the morning.
For toast, turn the function selector to the toast position first, then set the shade dial. I run mine at the third notch out of seven for regular sandwich bread and the second notch for anything already a little sweet, like raisin bread, since sugar browns faster than plain flour and burns before the timer runs out if you treat it the same as a plain slice. English muffins get their own notch too, the first one, because the nooks on the surface catch heat differently than a flat slice and go from golden to burnt faster than I expect every single time I forget and use my regular bread setting.
Step 2: Load the rack so all four slices brown the same
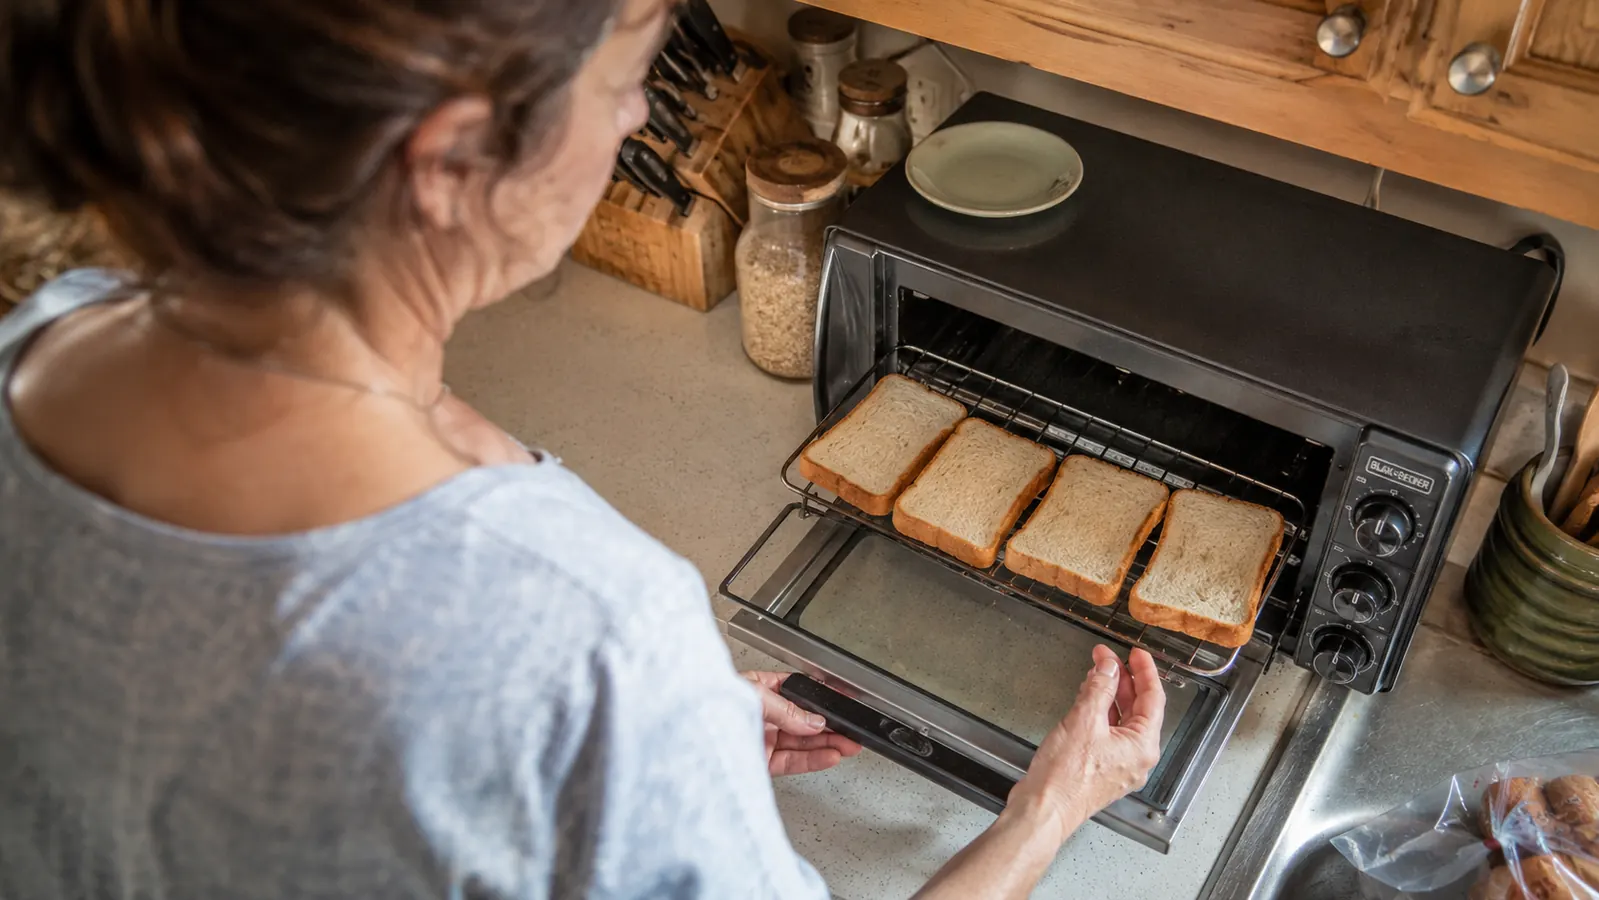
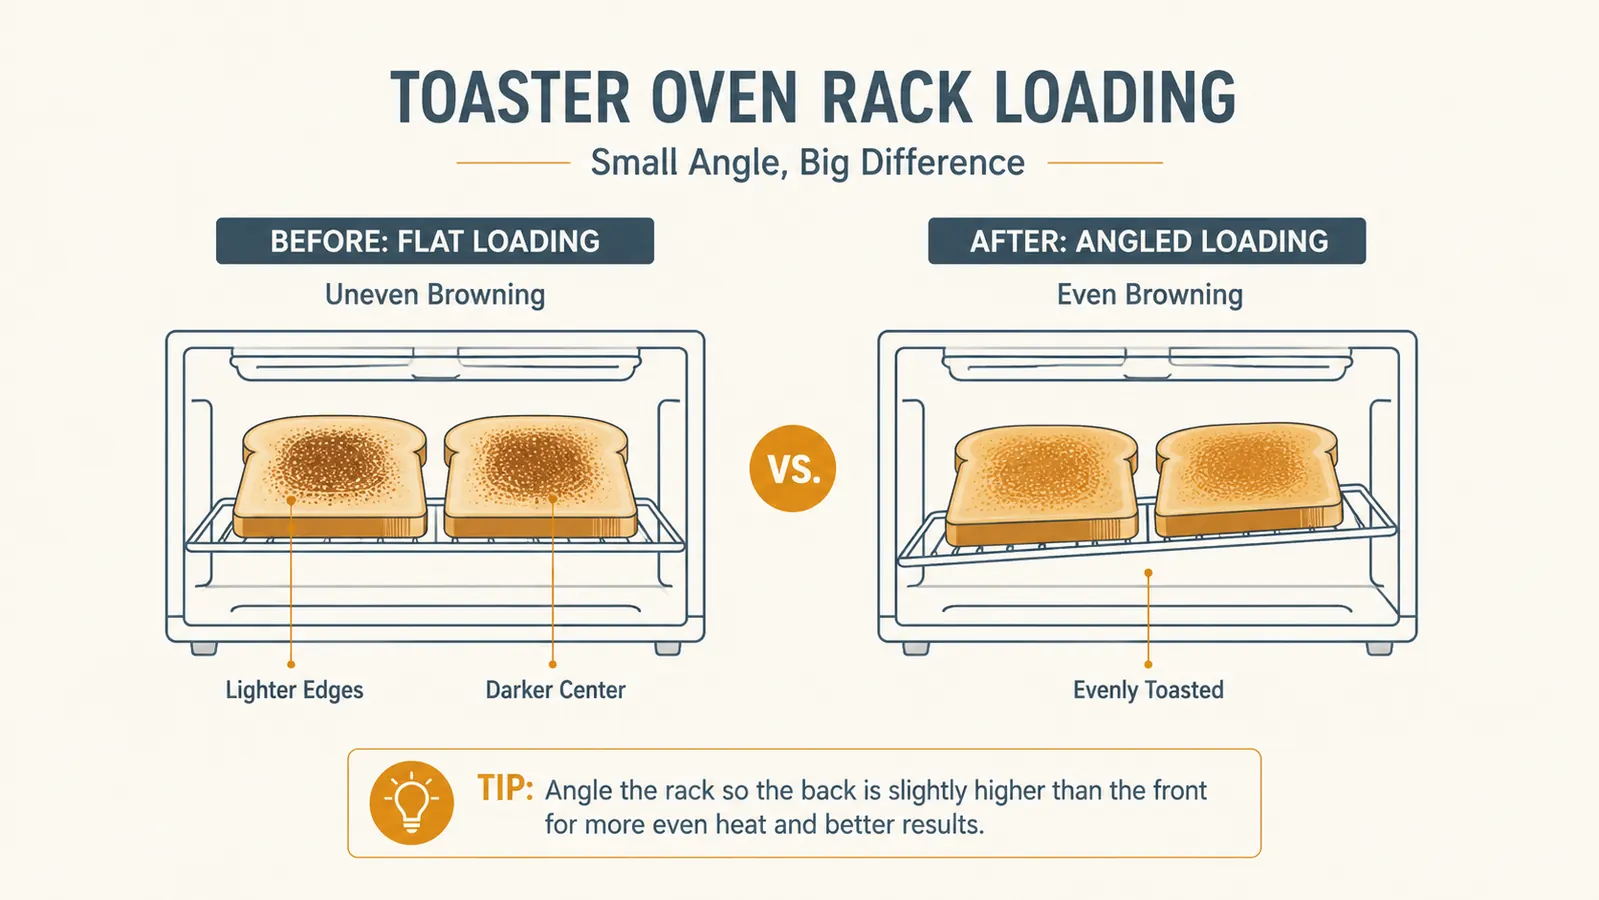
The heating coils in the TO1313SBD run stronger through the center of the cavity than at the two outer edges, which is true of almost every toaster oven this size, not just this one. Loaded straight in a flat row of four, the two middle slices come out noticeably darker than the two on the ends. I found this out the slow way, eating unevenly toasted bread for weeks before I bothered to fix it.
The fix is simple once you know it: angle the two outer slices slightly inward, so their inner edge sits a little closer to the center coils than a flat row would put them. I'm talking maybe a fifteen-degree tilt, just enough that the corner of each outer slice leans toward the middle instead of sitting parallel to the door. That small adjustment evened out my browning almost completely, from a range where the center slices were visibly darker to where all four came out within a shade of each other.
If you're only toasting one or two slices, put them in the center two slots rather than the outer ones. It feels backwards since the outer slots seem like they'd stay out of the way, but the center slots get the most even heat on their own, and a single slice toasted off-center tends to come out lopsided, dark on the side closest to the middle and pale on the far edge.
Step 3: Switch to bake mode and give it a real preheat
Bake mode is where the temperature knob finally matters. Turn the function selector to bake, then set the temperature knob to whatever your recipe calls for, up to 450 degrees on this unit. Unlike the toast setting, bake mode has no fixed internal timer tied to a shade dial, so you're setting the separate mechanical timer yourself based on how long the food actually needs.
I preheat for a genuine five minutes before I put anything in, even though it's tempting to skip it on a unit this small. The cavity is compact, so it feels like it should heat instantly, but the heating elements still need that time to actually reach the temperature you set rather than just the air around them warming up fast. I learned this the hard way with a batch of frozen mozzarella sticks that came out with a soft, greasy coating instead of crisp, because I loaded them the second the dial clicked into place instead of waiting.
The middle rack position is the one I use for almost everything. The lower position sits too close to the bottom heating element for anything that isn't meant to brown hard on the bottom, like a personal pizza where you want a crisp crust. I only move the rack down for that specific case, and I move it up a notch when I'm finishing something under the broil function instead, since broil relies on the top element and needs the food closer to it. When I bake anything that runs longer than fifteen minutes, I also rotate the tray front to back once, halfway through, because the same uneven heat that shows up in toast mode is still there in bake mode, just slower to reveal itself.
Step 4: Size your tray to the cavity, not the other way around
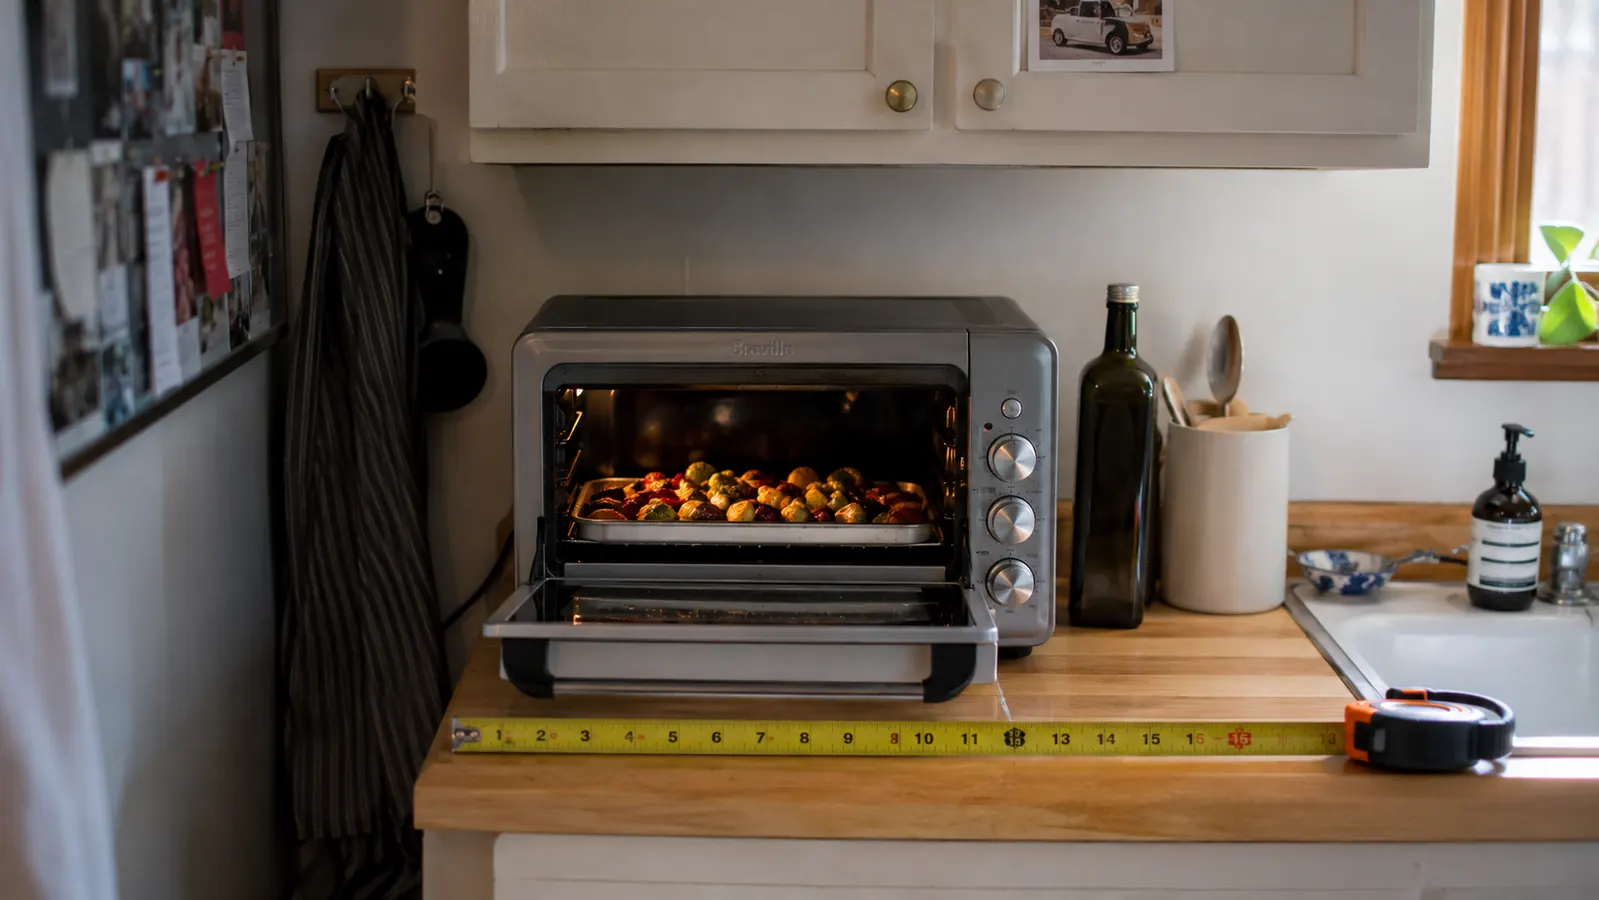
The interior of the BLACK+DECKER TO1313SBD fits a 9-inch pizza or four slices of bread side by side, and that number matters more than it sounds like it should. I bought a set of small toaster-oven-sized baking trays specifically for this unit after ruining my first attempt with a quarter sheet pan borrowed from my regular oven, which was close enough to fit but tight enough on the sides that the door wouldn't fully latch shut. Heat leaked out the whole time and nothing cooked evenly.
A tray with about half an inch of clearance on every side is what actually works here. That gap lets hot air circulate around the food instead of trapping steam against a pan that's wedged edge to edge in the cavity. I use a small nonstick metal tray that came as an off-brand toaster oven accessory, roughly 8 by 6 inches, and it leaves enough room on all sides that a tray of roasted vegetables comes out browned instead of steamed.
If you're baking something taller, like a small casserole dish, check the clearance from the rack to the top of the cavity too, not just the sides. This unit has about four inches of vertical space above the middle rack position, which fits a shallow ramekin easily but not a deep dish that would need to sit on the lower rack instead, closer to the bottom element than I'd normally choose. I keep two ramekins in the cabinet right below this oven for exactly that reason, since a single portion of baked eggs or a small crumble fits them without ever needing the lower rack at all.
Step 5: Use broil to finish, not to cook from raw
Broil is the setting I use least, maybe once a week, and only for the last two or three minutes of something that's already mostly cooked. Melting cheese on toast, crisping the skin on chicken thighs that finished baking, browning the top of a small casserole. The broil element on this unit runs hot and close, and I've scorched food in under a minute by walking away from it even once.
I never leave the kitchen during a broil cycle. The mechanical timer will run past done if I let it, and unlike bake mode where a minute or two of extra time barely matters, broil can go from perfectly browned to burnt in the time it takes to answer a text. I keep the door cracked slightly during broil too, which the manual actually recommends, since it lets the top element do its job without the trapped heat overcooking whatever's underneath.
What Else Helps
A cheap oven thermometer that sits inside the cavity told me something useful in my first week: my dial's 350 mark ran about fifteen degrees hotter than actual 350. Every mechanical dial drifts a little differently, and yours might run the opposite direction. I still keep the thermometer in there permanently now, on the back corner of the rack where it doesn't block anything, so I can glance at the real number instead of trusting the knob's printed labels.
I also keep a small silicone trivet on the counter next to the unit, just big enough for the tray to land on the second I pull it out. The door and the tray both stay hot for a few minutes after the timer dings, and setting a hot tray straight onto my counter isn't something I want to do twice before I learn my lesson. Beyond that, the crumb tray underneath is worth pulling out and wiping weekly if you're toasting daily. Mine collects more crumbs than I expect for a unit this size, and a build-up in there is the one thing that's made my kitchen smell like burnt toast on a morning I didn't even use it.
One last habit that's saved me more than once: I leave the door open for a minute after I pull anything out, instead of shutting it right away. This unit runs warm inside for a while after the timer stops, and closing the door immediately traps that heat and moisture against the walls of the cavity. Letting it vent for sixty seconds keeps the interior from feeling damp the next time I open it, and it's the reason mine still smells like bread and not like an old sponge, more than a year in.
The dials are the whole trick. Once I stopped guessing which mode I was in, uneven toast stopped being a weekly problem and became something I barely think about anymore.
If your dial-based toaster oven still confuses you, start here
This method assumes the TO1313SBD's exact dial layout. See today's price and current availability before your next batch of toast comes out uneven.
Amazon Check Today's Price on Amazon →